I wanted to write an article on varmint hunting this week but it will have to wait until maybe next week due to a lot of extenuating circumstances.
I was supposed to fly to South Dakota on Monday but due to airlines laying off staff, they were short-handed and my first flight out of Boise was late which threw off all of my other connections.
Rebooked for Tuesday. Got up at 3:30 a.m. and Katy dropped me off only to discover that my flight was canceled.
Rebooked for Thursday morning only to have my first flight late again due to short staffing which threw off all of my connections. Again! Finally, I actually got out at 6 a.m. Sunday morning and am now sitting in the Minneapolis airport waiting for a flight to South Dakota. I think that I am finally going to make it on the fourth try!
So with that said, I have spent the week running back and forth to the airport, not getting a paycheck.
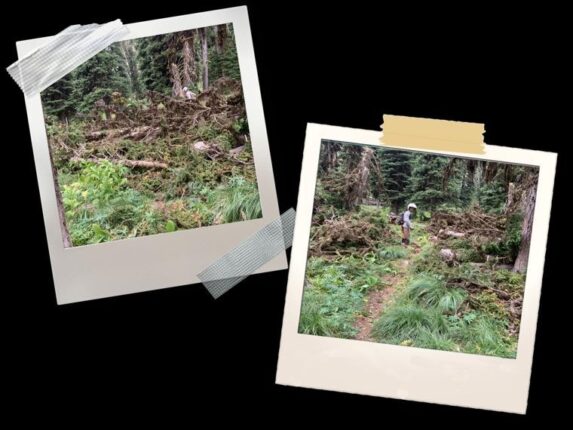
But with the above said, we’ll make lemonade out of the lemons provided by the layover. To begin, at least I was stuck in Idaho so I got to spend an extra week with Katy and Kolby. One day, Kolby was going to walk her new dog and wanted to know if I wanted to go along. Sure, I need to get in shape anyway. We took off down a trail and she showed me a house that had an apple tree. The owners weren’t picking them so I knocked on the door and asked if we could pick some apples. He said sure.
We picked a couple of bags worth and then came back later loaded for bear. We had plenty of bags and my backpack and picked 70 pounds of apples. If you’re like me then you’re wondering, aren’t they all frozen and ruined since it has been single digit weather for a while? Which is exactly why I am writing this article. No! They are salvageable!
So, to answer the obvious question first. Aren’t they soft and mushy? Yes! And no! Let me explain. It surprised me but most of the apples were still on the tree, not that many had fallen. And when picking them I only had a few fall. Now bear in mind, I’m not a real apple expert but I would have expected that they would have all fallen by now, but not so.
So yes, they are frozen right now but if you have access to an apple tree, hustle out there and stock up for the winter! They are frozen so of course that has burst the cell wall structure so they will be mushy when they thaw out but still, you can do a lot with them. Let’s list out some options:
First and easiest, slice them and eat them frozen. They taste like a frozen apple-flavored popsicle and are delicious. I couldn’t believe how tasty they were.
Second option is to slice them and throw them in a blender with orange juice. This made an awesome juice drink for us at supper last night. I tried it later with a berry juice but that was a little weird so I’d recommend just mixing them with orange juice.
Since we had 70 pounds there was no way that we’d use them all before they went bad so we quartered out as many as we could fit in the freezer and put them in bags and froze them for later use.
A fourth option, and a good one, we made applesauce. Applesauce is easy to make. Becky across the street taught us how to make this. Slice some apples and put in a pan and boil/cook. Add cinnamon and allspice and when soft put in a blender. Excellent applesauce. We made way too much so we put some in baggies and froze it.
And I saved the best for last. Ever since my daughters were 6 to 8 years old, they made apple crisp using a recipe out of one of their kids cook books. They’ve since progressed to recipes off of the internet. But regardless, Kolby is about to founder us on apple crisp. To add a little more flair to it she throws on a few dollops of ice cream which makes it to die for. Here’s a recipe she shared with me that she got off of the internet by The Chunky Chef. We tweaked it a little.
Kolby’s Apple Crisp
6-8 Apples
¾ cup Oatmeal
2 Tbsp. sugar
2 tsp. cinnamon
2 tsp. allspice
2 tsp. lemon juice
1 cup brown sugar
¾ cup flour
½ cup butter
Preheat oven to 350 degrees.
In a bowl mix the topping ingredients and stir.
Lay apple slices in pan.
Cover with the topping ingredients.
Bake for 40-50 minutes until golden brown.
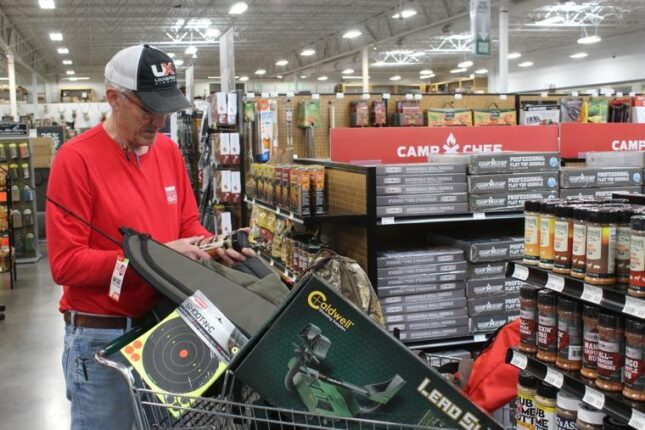
Tom Claycomb lives in Idaho and has outdoors columns in newspapers in Alaska, Idaho, Utah, Nevada, Colorado and Louisiana. He also writes for various outdoors magazines and teaches outdoors seminars at stores like Cabela’s, Sportsman’s Warehouse and Bass Pro Shop. He can be reached via email at smileya7@aol.com.