Soon after getting married, Katy told me that I was the eternal tightwad. I told her that I wasn’t a tightwad, I was just thrifty. She puts her hands on her hips and says, “Well, you’ve carried it to a new level.”
I told her I didn’t have much as a kid and learned to get by with what I had. She informed me that I was no longer a kid and I had a real job, a good job and I needed to loosen up some.
So with the above said, there are some items on the market that can make working on your guns a lot simpler. Let’s cover a few of those items. Up until … OK, maybe 10 years ago, anytime I was going to clean a rifle or mount a scope I’d pile some blankets on the kitchen table to cradle my rifle. Needless to say, that didn’t provide for a very stable work station.
When mounting a scope, it is not conducive to obtaining good results if the rifle slips and bounces off the table. Ditto with the scope. You need something firm and steady holding your rifle. Same when cleaning your guns.
The ultimate tool to solve the above problems is the Otis Elite Range Box. It is like a giant tackle box. Remove the top and put the two forks in place to cradle your rifle. Now you’re ready to work. Another big feature is that it has ample room to store all of your cleaning patches, oils, solvents and tools. On the side of the forks are slots to hold your cleaning rods. I love these boxes for cleaning my rifles/shotguns and for mounting scopes or working on them. You can also carry it to the gun range. After you get one you’ll wonder how you ever lived without one.
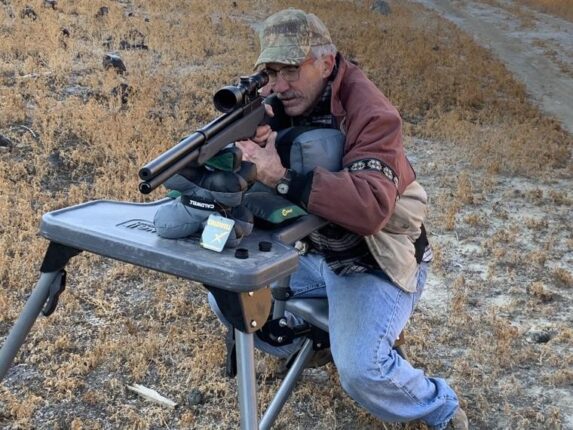
Another important thing is a stable bench to shoot off of. Ninety percent of the time I go out on the prairies to do my shooting/sighting in my rifles and shotguns. That way I don’t have to work around anyone at the gun range and hold them up or vice versa. But one benefit that a gun range has is that they have a steady bench and seat.
For a few years I shot off the tailgate. Then I started taking a chair and then I really moved up and for years used a card table and chair and piled blankets/coats on the table to rest my rifle on. Still not the ultimate.
Replace the blankets with range bags. It seems for every different gun that you need a little bit different of elevation to get comfortable so get a variety of bags to accommodate your different needs.
Now I use a Caldwell Stable Table. It is a collapsible table and seat. It is durable and easy to slap up or fold-up and store at home. It’s handy.
Another item that came out years ago was the Caldwell Lead Sled. It was a device that held your rifle so you could shoot and it wouldn’t kick you as bad. This is a big deal if you’re shooting a lot of rifles or big bore guns. If you’re flinching then you can’t get good groups. To reduce recoil, you lay lead shot bags on the sled, hence the name Lead Sled.
But a couple of years ago Caldwell came out with their Hydro Sled. It has a reservoir that you fill with water to give it weight which reduces recoil. I use it now instead of my Lead Sled.
If I’ve got many rifles to sight in, I always take my sled. If not, by the time I get two to three new rifles sighted in it is hard not to flinch which prevents me from obtaining decent groups.
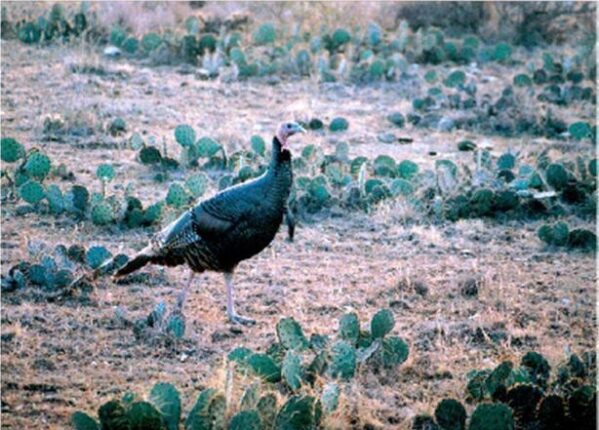
But where I really got to loving my Lead Sled was years ago. I was doing an article for Bass Pro Shop on the best turkey loads and had to sample a ton of different turkey loads. You want to talk about getting pounded! Go shoot a couple of boxes of 3 ½-inch HEVI Shot ga. Turkey loads. That will make you cry Uncle. But with my Caldwell Lead Sled, no problemo.
SUMMARY
So to ease your pains when mounting a scope, putting a red dot scope on your shotgun, cleaning your rifle/shotgun or just to keep all of your cleaning supplies and gun tools organized, get a range box.
To provide a stable rest for sighting in your rifles, patterning your shotguns and seeing what your gun is actually capable of shooting, invest in a Caldwell Stable Table and some bench bags.
Then if you want to go all out and hit the next level you might want to check out these two items.
1. Caldwell Ballistic Precision Target Camera. The younger techie crowd will like this. With the app and using your cell phone it allows you to observe where your bullet hits the target.
2. Caldwell Chronograph to measure bullet speeds. These are an aid to tell you your reloading results. I like to know how fast my airguns fly, when I start losing accuracy or performance etc.
SECOND SUMMARY
As Katy would say, “Boys and their toys.”
Tom Claycomb lives in Idaho and has outdoors columns in newspapers in Alaska, Idaho, Utah, Nevada, Colorado and Louisiana. He also writes for various outdoors magazines and teaches outdoors seminars at stores like Cabela’s, Sportsman’s Warehouse and Bass Pro Shop.