Did you know that you can make your own homemade extracts? Just like making your own medical tinctures, you can make extracts to spice up your life.
For those of you who have made tinctures before, this will be a piece of cake. There are a few different steps to using them but overall you could make tinctures and extracts at the same time.
For those science types out there wondering why vodka or alcohol is only used in tinctures and extracts, the answer is this — ethanol (or distilled substances) are able to dissolves substances that are less soluble in water. Alcohol content acts as a preservative, antiseptic and antimicrobial.
Materials needed:
- 16-ounce canning jars
- 2-ounce glass bottles
- Chalk labels
- Filament tape
- Bottle seal wax beads (or any type of sealing wax that can be used in food)
- Vodka (preferably a higher alcohol proof)
- Acidic fruits
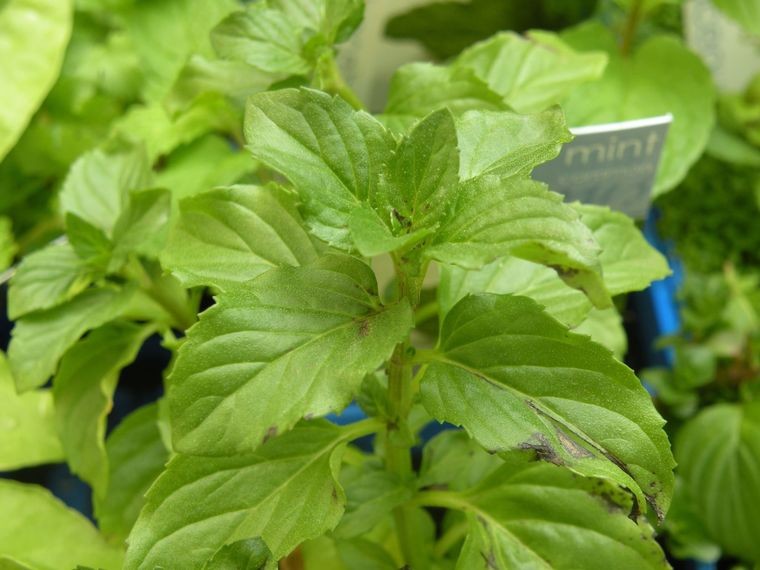
- Mint (stems removed)
- Vanilla beans
Vanilla: Add vanilla beans and vodka into a large sterilized jar. Tightly close the lid and keep in a cool dark place. Shake the bottle every few days. Let sit for a few weeks until the extract turns a dark brown. Once it has attained the perfect color needed, you can pour into smaller bottles for gifts or into a darker glass bottle for future use.
Acidic fruit: Clean off the fruit you are going to be working with and then peel off its skin. Add the skin and vodka into a sterilized jar. Close the lid and shake a few times. Keep in a cool dark place. Let sit for four weeks before using. The peels will eventually turn brown but the extract will still be viable.
Mint extract: Lightly crush the mint leaves while in the jar to release the oils. Add vodka to the jar and seal tightly. Shake every few days. Let sit for about four weeks. Remove the mint leaves when you are ready to use the extract.
Some people like to use wax seals to make sure that their bottles are completely closed during the curing process. After putting the vodka and material into the bottle, make sure it is completely sealed. Then wrap a layer a filament tape around the top of the bottle.
Melt the wax beads down using equipment you will not use later for food (or buy a secondhand pan from the dollar store and use it for your wax purposes later). Once the wax is completely melted and your bottle top has been wrapped in filament tape, dip the bottle top upside down into the wax to seal it. Tilt the bottle to the side to create a drip so you can take it off easier later. Let the wax cool. Now you don’t have to worry about nasty dirt or critters getting into your extract.
Emily Thornton is an English Teacher at Pocatello High School and is working on her Master’s Degree at Idaho State University.